
Hiya! I’ve always loved multicolored yarns and you’ve seen me using some here, but until now I didn’t know it was possible to arrange the stitches in a certain way to get specific designs. Well, apparently it is a thing and it’s called color planning or color pooling or even planned pooling, and it’s pretty cool. This same yarn gave me these 3 results just by adjusting my stitches differently.

This is what I got by simply crocheting accepting the color changes as they came:
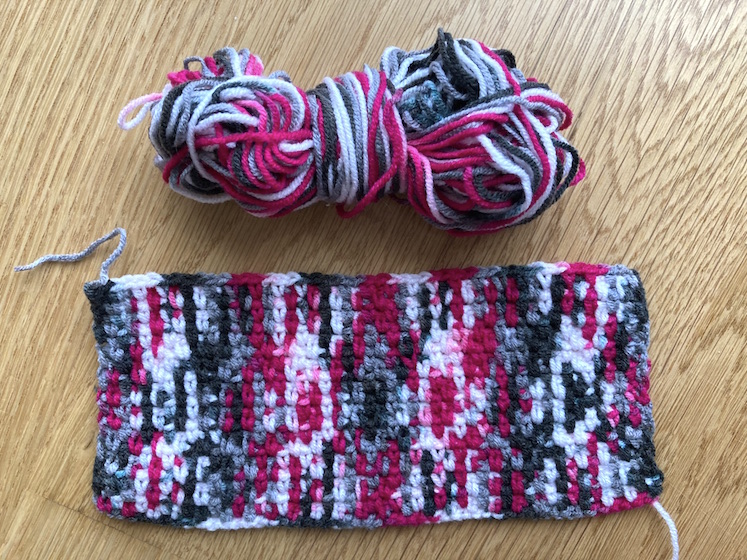
It’s not ugly, but I wouldn’t say it’s a pretty pattern either.
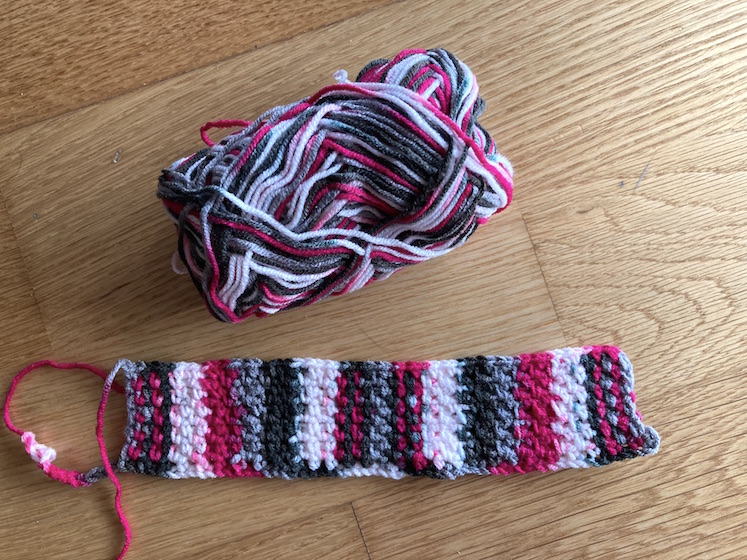
This is what I got by making sure I repeated the sequence exactly, so each color is always aligned on top of itself. You get stripes mainly.
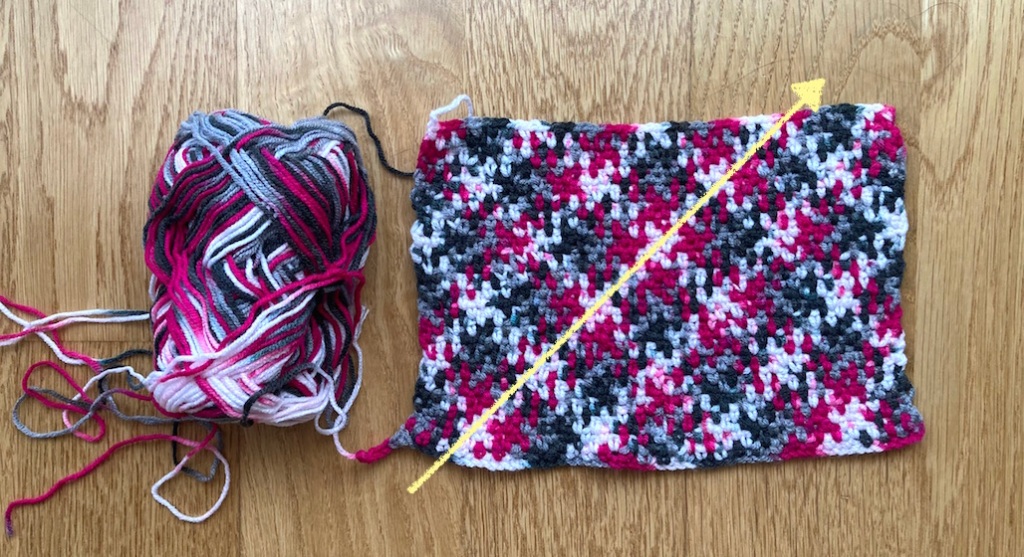
And this the argyle pattern that you get by shifting1 stitch in each row.
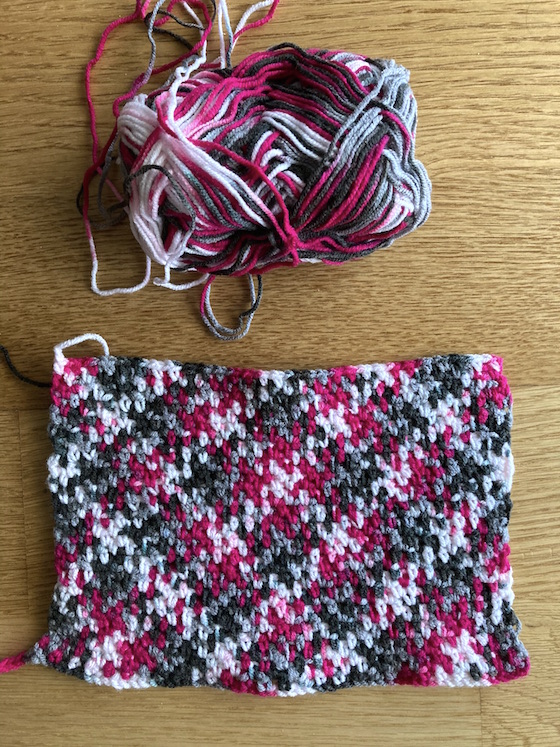
You can see it’s like the colors are “moving” diagonally.
I’ll leave you a few videos at the end of the post on how to achieve this.
BUT, not all variegated yarns will work. For what I’ve seen, your yarn needs to meet a few requirements:
- Color changes can’t be random. There must be a color sequence repeating all along the skein.
- Not all colors need to be the same length, but the length of each color has to be consistent.
- Color changes have to be sharp. If your colors change with a beautiful gradient… it’s not going to work.
- Colors shouldn’t change too soon. You need to be able to make at least 2 stitches with each.
Please bear in mind all these points because color pooling is very rewarding when it works out… but equally frustrating when it doesn’t. 😭
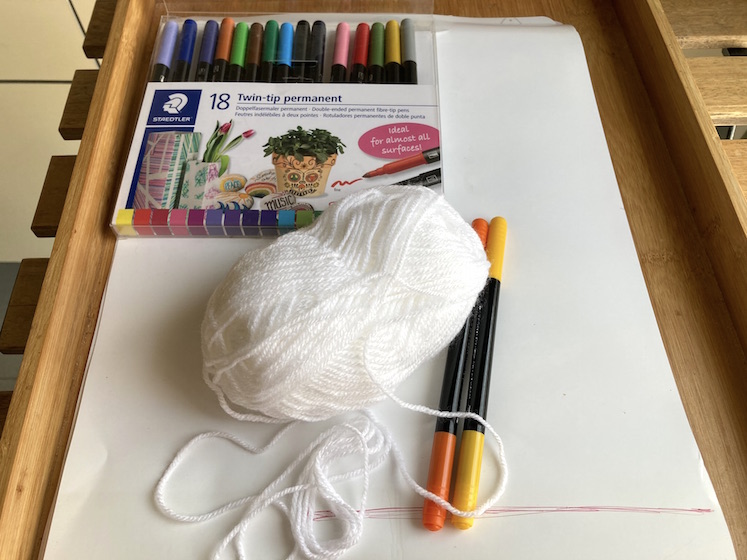
There are yarns that have been conceived for color pooling specifically, so that would be a safe option. Tash Margette from Stardust Crochet recommends here a few brands she’s tried. However, I was unable to find any of these in my zone, so after the 6th or 7th store I ended up painting my own. I just grabbed a white yarn and started painting a very simple sequence of white, yellow and orange with permanent markers.
Not a great idea, but I needed to see if it worked. If you do the same, protect the surface, use gloves and be patient.
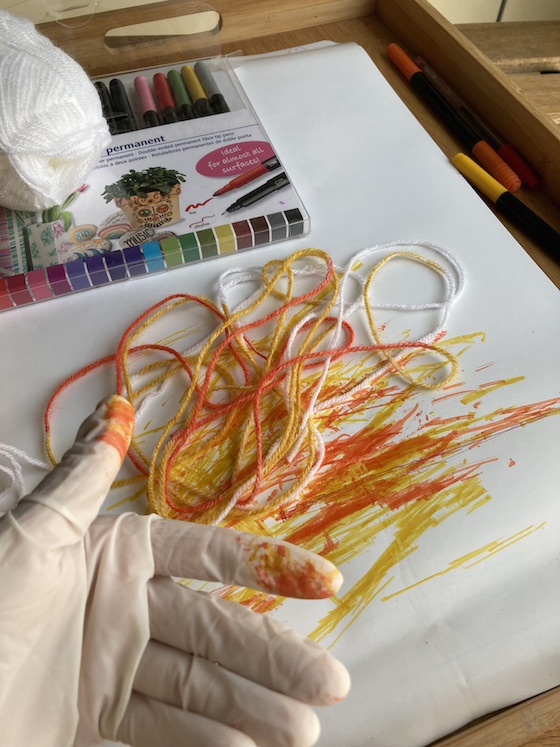
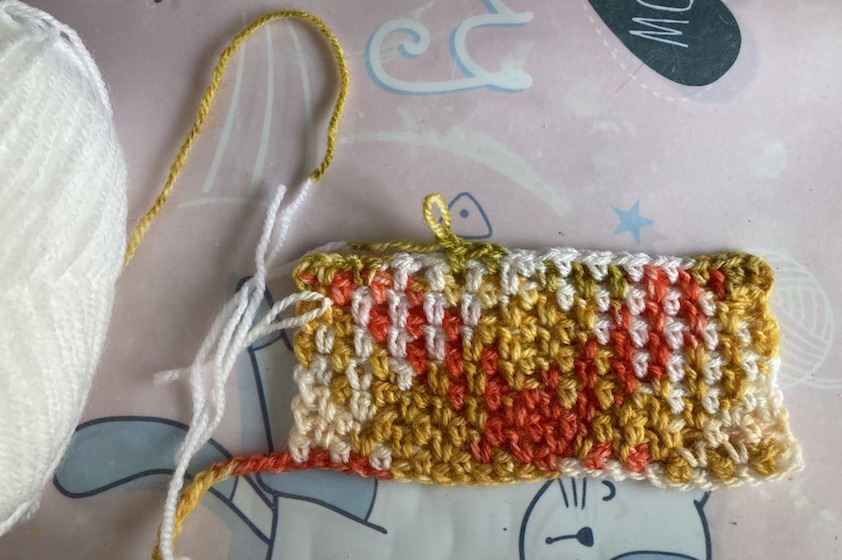
I ran out of patience, but you can see it was starting to form a design!
Encouraged by the promising results, I bought at Temu, these two yarns. They were very cheap, so I thought it would be ok even if the experiment wouldn’t pan out.
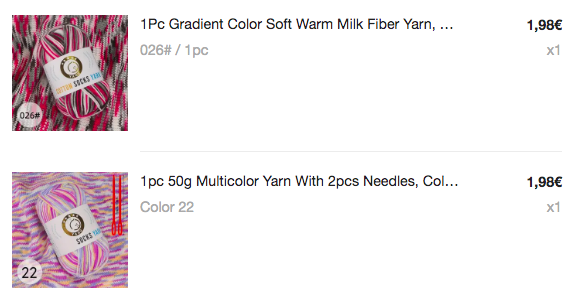
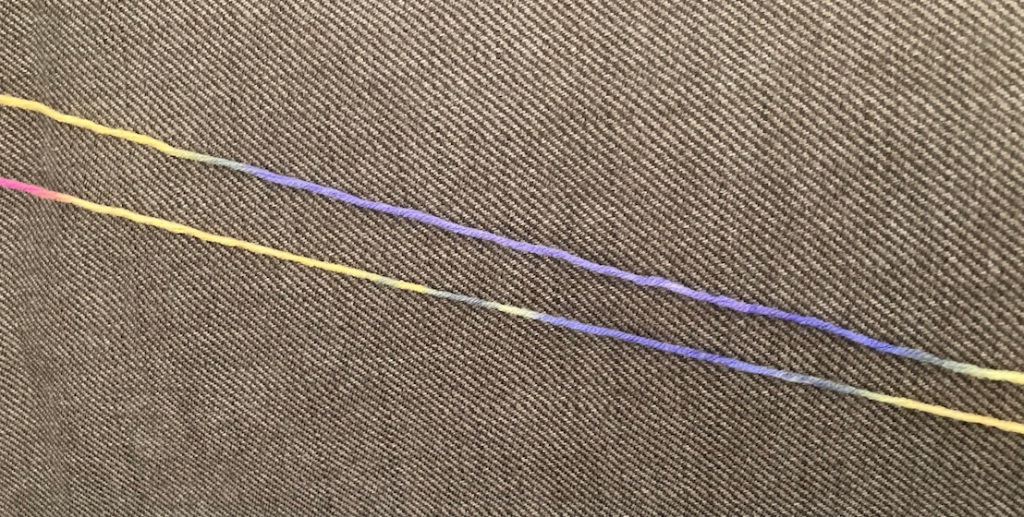
Strangely enough, even though they are the same brand and apparently the same type of yarn, one of them worked and the other didn’t. For may reasons, but mainly because the purple one did not follow a logic sequence. It did for a few rows, and then, it didn’t.
Moreover, these two purple parts are definitely NOT the same length.
And these two should be all pink…
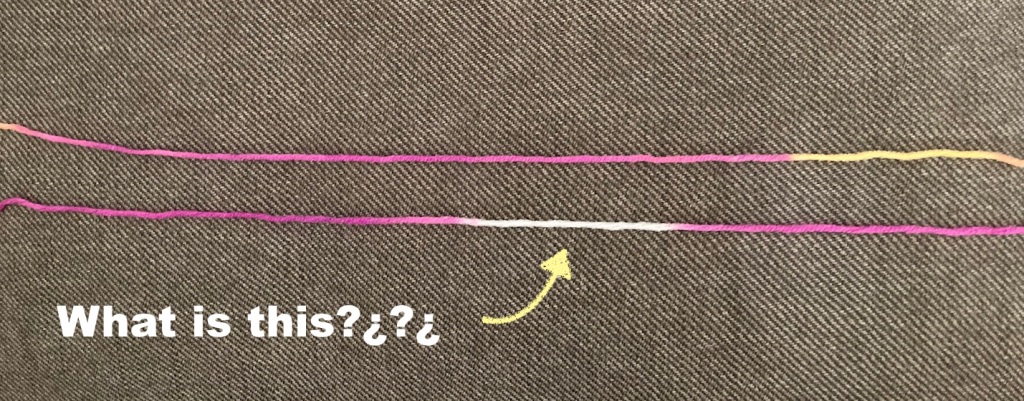
So, it’s imposible to plan if you don’t know what are you going to get next.
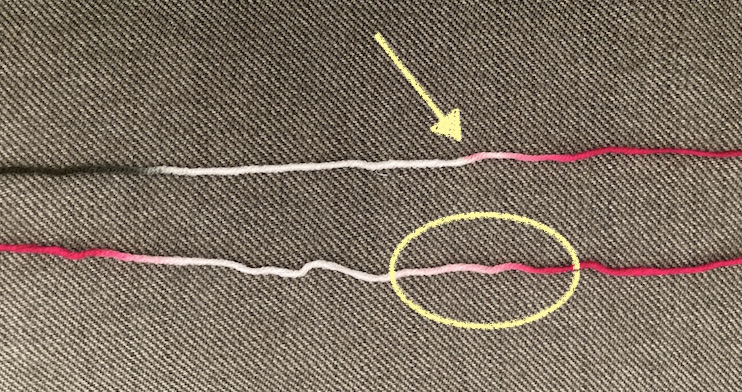
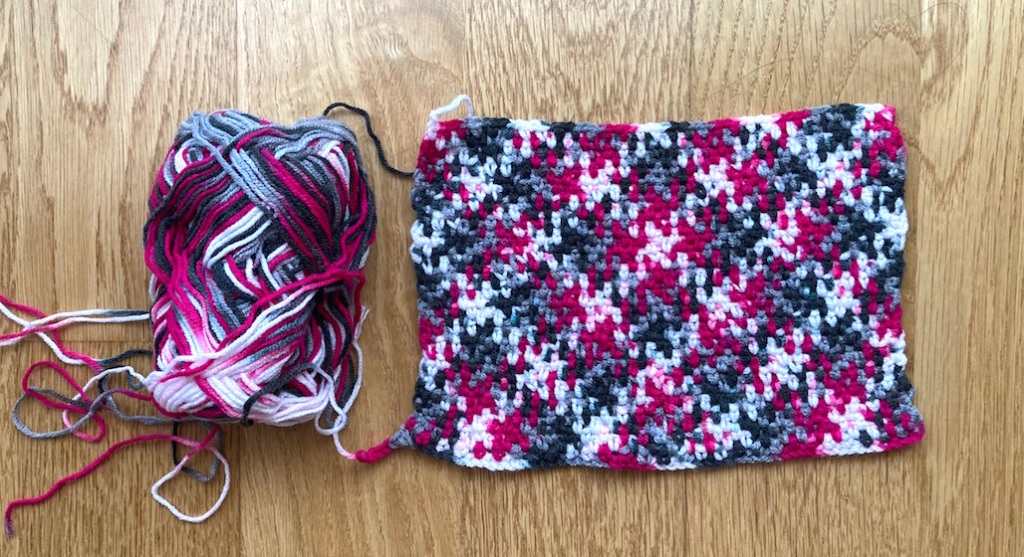
Even the pink-grey-black yarn wasn’t great. Color transitions were not as sharp as they should be and color lengths were inconsistent at times… but still.
Quite happy with the experiment, though.
Now, regarding the tutoriaIs, I watched a lot (A LOT) of videos about this technique before I tried it, and I’ll leave you here the 2 tutorial that I found more useful.
Color Pooling Basics//5 Key Concepts to Successful Color Pooling//Part 1 (by It’s Time for Yarn)
The Best Crochet Planned Pooling Tutorial (by Marly Bird)
I haven’t found many tutorials in Spanish for this technique 😒 , but this one is clear and well explained:
Tutorial Pooling Crochet En Español (by Yessabett Bueno)
So, what do you think? are you willing to give it a try?
Take care and stay hydrated if you are in summer.
☀️ 💙 🌻
